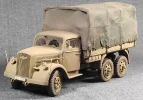
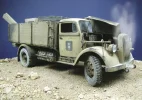
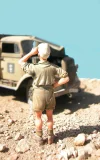
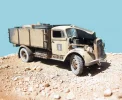
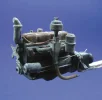
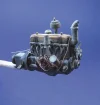
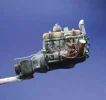
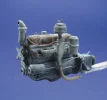
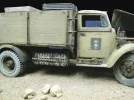
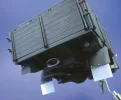
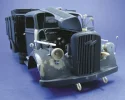
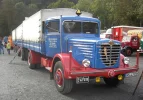
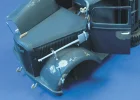
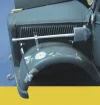
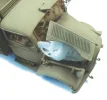
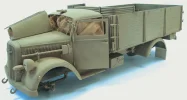
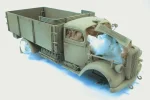
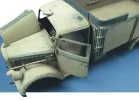
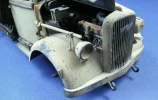
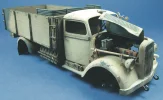
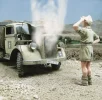
Af! Overheating in the desert North Afrika 1942 ( Italeri kit 1:35 scale).

Dit model is af!

Gérard Deygas

🇺🇳 Niet Nederlandstalig
A little history before starting this new thread...

Founded in 1962 by Giuliano Malservisi and Gian Pietro Parmeggiani Italeri was initially called Italaerei Based in Bologna, it manufactures at the beginning of its activity aircraft kits and military models mainly to scale 1/35.Today the brand still exists but does not often come out of new for our greatest regret!

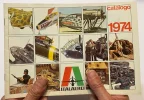
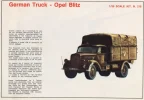
I usually keep the manufacturers' catalogues . Despite his 51 years this one is still in very good condition... At that time the range is not very rich in kits to 1/35.... Only 9 models are presented in the 1974 catalogue. The Hetzer 38 (t), Marder III,Horch Kfz.15,Panzer 38 (t),Fiat Ansaldo M13/40,Fiat M40-75/18,Tiger Elefant, Pak 40 7,5 cm,and the Opel Blitz

illustration the Opel Blitz in this limited catalog
Opel-Blitz-Surchauffe.webp
Cata-Italaerei.webp
Opel-Blitz-Illustration.webp
 
There we go.... with a nice start of a great subject 🙂
 
I will follow-up your build Gérard, your work is inspiring as is the explanation and result of applied techniques.
Military transport is always interesting and this good old kit is in capable hands now. Enjoy the modelling.

Best regards, Jan
 
Hello Jan,

Thank you, I will do my best explain. A precision I made this diorama in 2007 and I find that compared to what it does today in terms of models, moldings, detailed details, photoetched, 3D this Opel Blitz Italeri has no reason to blush Facing the creations of the moment
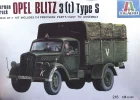
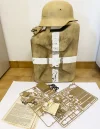
The box as I bought it a long time ago.... Italeri does not exist yet!
Best regards

Boite-Opel-Blitz.webp
 
At the TWENOT club meeting last Sunday, someone had that kit for sale — without the box, but with an Italaerei logo on the instructions. I was debating whether to buy it, but didn’t in the end.
 
I've build some 15/20 by now. The latest that got readty was on the contest table in IJzendoorm. a 6x4 version. DAF TraDo bogies re-used on a Opel Blitz. (Yes, there is one picture.)

I have some in my spare box and stash.

I own the Verlinden diorama, from 1979 with the Opel Blitz changing a flat. (I restored it)

I've got the T-shirt (a scan of the sprue that the most iconic parts are in) and yes it still holds up after 50 years. You do need to fix a couple of things that are visible in the cab. But from your picture I can see you nailed that.
 
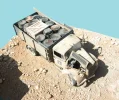
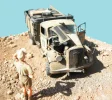
Well, let’s get to the heart of the matter... I wanted to represent a vehicle in trouble with the weather conditions in the desert. German equipment is not ready for this war.
The living conditions are abominable, the metal of the machines burns, the interior is a real furnace. The water that men swallow to quench their thirst is hot or even boiling, because it is stored jerrycans. The repeated sand storms wear down organisms and mechanics. Especially fine sand penetrates everywhere... And then there are the flies, they proliferate and contaminate food... The overheating of the water in the radiator forces the truck crew on their way to the front to stop. The heat is overwhelming.

Surchauffe.webp
 
Well told.... i feel the heat and the thirst....
 
In this case the use of sunlight certainly has a great desert effect 👍
 
A magnificent Blitz, a magnificent setting, but, Gerard, that Blitz may have started as an Italeri Blitz, but than it has a very big amount of PE. Doorhandles, headlights, even locks on the front towing hooks. Do you have pictures of the build?
 
Thank you for your comments. Excellent the T-Shirt,it is a T-SHIRT COLLECTOR. Yes, of course in my next post I will present the photos of the montage..
And for Peter yes try with a full sun you will get a deserted atmosphere....
 
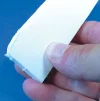
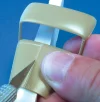
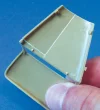
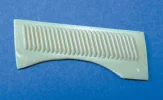
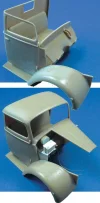
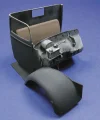
The cut-out of the engine hood is made at blade X.Acto number 11, to avoid deforming or breaking the plastic during this step, a support in cardboard feather cut from the shape of the Italeri part is positioned inside. This cutting will have to be done carefully, the piece being reinstalled on the kit.It will have to do the same for the cutting of the side panel.Too thick the piece will be refined on a sheet of sandpaper with medium grains.The inner edge of the wing is sanded with a file

decoupe-capot-1.webp
decoupe-capot-2.webp
Decoupe-capot-3.webp
Decoupe-capot-4.webp


Decoupe-capot-5.webp
 
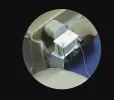
The battery holder, the battery and the bottom of the glove box are made from various materials, aluminum foil,surplus plastic parts, Evergreen rods.The electrical cables are made of tin wire because much more maleable than copper for their shaping.
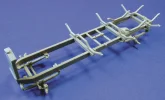
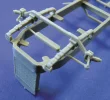
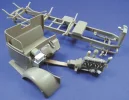
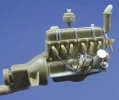
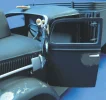
The first three subassemblies,engine chassis,cab. I repeat again, the engraving is excellent for the time and the plastic very pleasant to work.

Batterie.webp
Batterie-en-place-3.webp
Chassis.webp
Direction.webp
Sous-ensemble.webp
 
You are a fine modeller but you make damn good foto's as well! Good stuff.
 
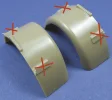
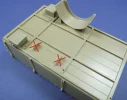
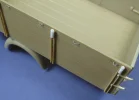
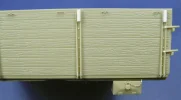
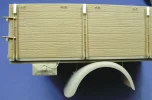
Remove the parts on the wings and under the platform that are supposed to be rear wing fixings. They will be replaced by newax supports cut from 5/10 thick aluminum held by three bolts on the wing and four on the tray (Punch and Die Hexagonal tool) that ensure the fixing of the sheet.the four tubes in which are inserted hoops for the canvas are made of Evergreen round ref.211 SA 040. Length 4.5 mm.The hooks (arceaux) for fixing the canvas are made of electric wire shaped on a sewing needle.You will notice that the tubes supporting the hoops (arceaux) are only drilled over a small length.The chain on the chest comes from the Royal Model chain range ref.037.On all four sides,two holes are drilled in each hinge, then a plastic rod is inserted.

Ailes-ar-1.webp
Supports-ailes-ar.webp
Nouveau-support-ailes-ar.webp
Arceaux-1.webp
Arceaux-3.webp
Arceaux-4.webps
 
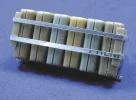
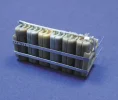
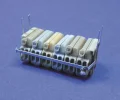
Shortages of fuel and water are frequent the supply columns run only at night to avoid the British hunt and the distance to travel is great to reach the front... They oblige the D.A.K to increase its storage capacity on the vehicles (despite the risks) by creating transport frames manufactured most of the time in the field and installed everywhere on light and armored vehicles . There are no precise rules we do as we can and with what we have at hand. Six jerrycans half water half gasoline will be added to the cargo of my Blitz. Made of 0.5 mm aluminum foil, the frame will fit the size of the jerry cans. Two small corners in Evergreen profile will reinforce the lower part. Finally a removable bar equipped with a lock will ensure the holding of jerry cans in this improvised housing.

Cadre--Blitz-1.webp
Cadre-Blitz-3.webp
Cadre-Blitz-4.webp
Cadre-Blitz-5.webp
 
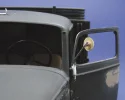
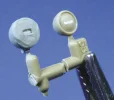
The cabin requires a bit of attention for the external accessories. The interior of the research lighthouse is dug, after painting, do not forget to add the glass that will be cut into a round Punch and Die in a fall of Rhodoïd. The power cable is made of tin wire. The new headlights are taken from the surplus box; they come from a Tamiya Sd.Kfz 250. The one on the left is covered with a fabric cabochon for night lighting. Here reproduced in Magic Sculpt. The template rods are made of metal wire and are equipped with die-cut discs.

retroviseur.webp
Calandre-1.webp
Calandre-2.webp
Phares.webp
 
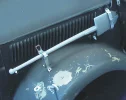
Without a trailer the triangle is lowered, with the trailer the triangle is raised.
Good that you mention this — a lot of modellers (and others) don’t know this, or that it was a standard German traffic regulation that also applied to civilian vehicles.
 
Very nice details Gérard 👍 and again usefull pictures as reference for tweeking the old Opel Blitz kits 🧐
 
After the dark gray, original color, it is necessary to quickly blend the vehicles into the tones of the North African desert. It is a sand yellow color that is naturally adopted and which will be applied with more or less rigor and nuances on all the vehicles used by the expeditionary force... The Deutsche Afrikakorps.

The dark grey base shade Humbrol 67 is covered with a first application of Humbrol 93 sand. I then lightened it with H103 Humbrol matte cream. (this shade, less used than 93, is still present in the color chart) well diluted color with White spirit. Paper tissues protect the interior of the cabin

Blitz-base-peint.3.webp
Blitz-base-peint.2.webp
Blitz-base-peint.webp
 
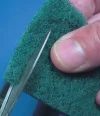
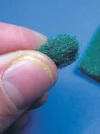
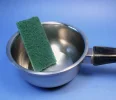
I do not practice the pre-shading technique. But a simple wash with a mixture of Black Oxide from Rembrandt and Humbrol 29 earth. Faced with the intense heat in the desert, the repeated sandstorms, the projections of stones by the wheels of the vehicles, the frequent passages of crews on the machines, the sand-colored paint easily fades, the original color reappears making this ephemeral camouflage less effective. I reproduced this with the base color using a hard bristle brush (undiluted paint) and portions of scothbrite used to rub the pans.. Regularly changed these small stamps cut from a larger piece they are soaked in undiluted paint and applied to the desired parts.

Eclats-peint.2.webpEclats-peint.3.webp
Eclats-peint.1.webp
Scotchbrite-1.webp
Scotchbrite-2.webp
Tech tampon G.webp
 
A simple way of applying wear & tear on paint but still very effective, so... looking good
 
Terug
Bovenaan