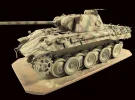
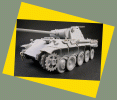
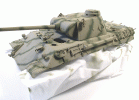
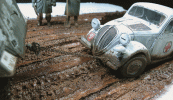
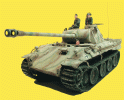
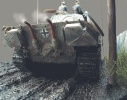
Af! PANTHER Ausf.D Eastern Front Spring 1943 Scale 1:35
Dit model is af!
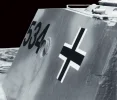
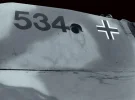
Very few D type panther survived to the fights of the scond World War.To our knowledge only 2 tanks have escapd to the sword rattlers.The first one in very good conditions is exhibited in Breda your country .The second one is in Switzerland,is late version
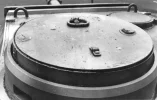
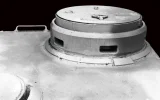
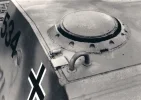
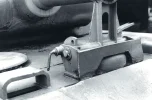
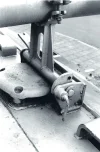
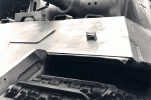
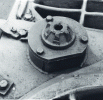
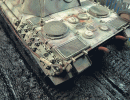
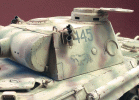
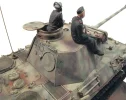
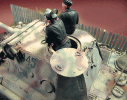
Interesting view of the tank commander cupola.As the Dragon locking latch of the rear hatch is not lke in reality at all you have to do it yourself with .020" plasticard and some Evergreen round.

Tourelle-4.webp
Tourelle-3.webpTourelle-2.webpTourelle-1.webpTourelle-6.webp
Tourelle-5.webp
 
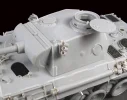
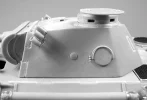
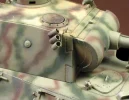
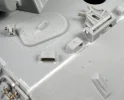
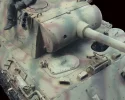
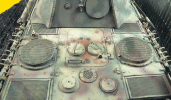
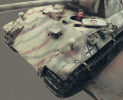
View from above we can see the details added and the improvements brought to the turret,mainly the weldings.Note the stop of thr tank commander"s cupola,the smoke launchers -Nebelwurfgerät- with the firing system made of plasticard andthin electric wire.The support plate of the tubes,Dragon part, is kept but consyderably reduced whit at flat and abrasive paper.Vue-plongeante.webpTubes-lance-grenades.webp
 
The gutter at the upper part of the communication hatch is redone with aluminium sheet and the three conical rivets are replaced.The right side of the turret is finished .

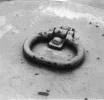
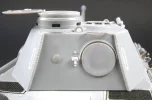
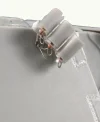
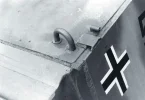
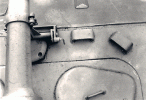
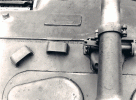
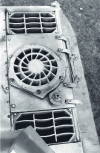
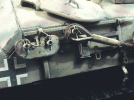
We can see the handle at the rear to hang on or to get out from the inside of the turret , the ventilator and its protecting, the lifting ring , the remaining parts for the smoke launcher, the left side its communication hatch, and the cap eqquiped witha gutter for this version. On the model the tree conical rivet are replaced by some Modelkasten parts ref. A2 “ conical round head rivets”.

Anneau-levage-1.webpVentilation.webpPoignee-arr-1.webpTourele-droit.webpTourelle-gauche.webp
Trappe-arri.1.webp
 
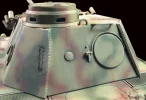
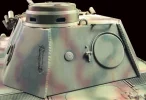
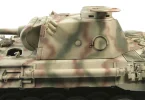
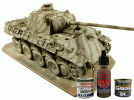
I stay on the turret but for the model, is covered with a Humbrol 187 sand base coat. For the “stripe” type camouflage I used the Professional Aibrush A470 Aztek: Revell 84 for the green colour and Prince August 041 for the red-brown colour.To finish this first strep I applied a Humbrol 33 matt black+Humbrol 29 earth lavis.
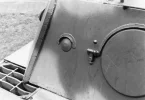
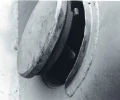
Close up on of the communication hatch.The thickness of the armour is impressive.
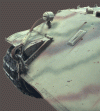
The cap of the hole for a close defence weapon is missing. It is protected by a gutter. When it was removed it was linked to the turret by a chain.


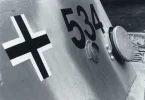
Tourelle-6.webptourelle-A.webpTrappe-communication.webpCote-droit.webpChiffre.webptourelle-D.webpTourelle-C.webp
 
Very good idea to show the real tank and the model. Also: You can spray better with an A470 than I usually manage with it 🙂
 
I suspect it’s down to skill 🙂 I’m not the world’s greatest airbrusher by a long shot.
 
No, I don’t think so... However, I used to filter the paint through a pantyhose, the pantyhose that women wore long ago! I put a piece of pantyhose on my tank and pour the paint.All the impurities in the paint are trapped.For the Enamels I dilute my paint to 50% with white spirit and for acrylics with 50% methylated spirit . I have never used other thinners in more than 40 years of practice!

Collant-1.webpCollant-2.webp
 
Dragon made a mistake with the protections of the episcops because the inside shapeis angular but is reality it is rounded.This mistake is corrected on the Dragon parts with a round file. As these protections are too thick you have to make them thinner from the exterior with the file.Once placed engrave the welding on surround of each protection.

The locking latch of the radio operator's hatch, the Dragon parts have to be improved by filling in with plasticard the hole

appearing after the assembling of the B15-B17 and B16-B18 parts. Do not forget the axle and its spring.

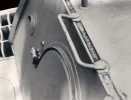
The gun travel lock in travel position. This part is correctly reproduced by Dragon.The axle passing through teh base on each side is simulated withe two discs cut whit a hollow punch (Punch and die) .The locking handle on the side is made of stretched plastic. Under the travel lock we can see the protection of tue ventilator.

Episcopes-1.webpEpiscopes-2.webpButée-trappe.webpChaise-de-route-1.webpChaise-de-route-2.webpEpiscopes.3.webp
 
Of course you know the Panther D by heart, my texts are there only to accompany the photos of the real tank The driver's and radio/gunner's hatches with the protections of the episcops at the front.Later only one episcop will equip the G Panther,fixed for the gunner and rotative for the driver.The big clamping ring of the gun tube is in place.On the A type the radio/gunner's hatche was replaced by a rotative mechanism placed under the casemate.

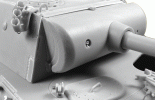
The gun shield.We can clearly see the shape of the .010" plasticard wedge fixed in the hole of the coaxial machine gun.

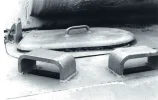
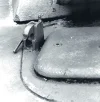
As we chose to realise an early version of the D Panther we equpped the model white the gunner's protection cover-part J25- and white both Bosch headlights.The driver's hatch is open.Glue two plasticard discs to simulate the ends of the axle.Wen they are not used the manoeuvring guides are fixedon the mudguard with some clips.These aluminium are shaped on a swing needle. The rod is in wire,its base is cut in some sheath for telephone wire and the ball is in Magic Sculp.The Bosch headlights are very nice. You only have to add thr rivets on the frame and the locking handle at the rear. We can clearly see the improvements brought on this part of the model.

On the machine itself, the pilot’s hatch is blocked by a metal plate. Only one piece of the Bosch headlightbase remains . Note the weldings linking the glacisti the sides.

Guide-droit.gifguide-gauche.gifGlacis.gif
trappe-pilote.gif
Photo-2-pagina-43.gifPhoto-4-pagina-43.gifPhoto-1-pagina-44.gif
Photo-1-pagina-43.gif
 
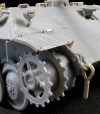
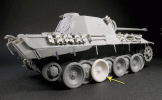
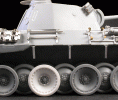
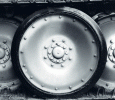
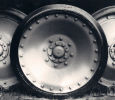
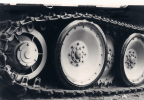
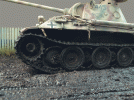
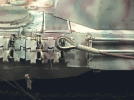
The schürzen supports are made of aluminium sheet. The hooks on which the metallic plates have to be hung are missing.The Panther were not ready to face the russian tanks during the Kursk battle.If the armament and the armour were efficient ,the mechanic was too fragile.As for example ,there were only 16 bolts on the exterior wheels instead of 24 later on..This failure needed the replacement of a wheel on my kit !!.

The tank crew some spare wheels bolted on the sides of the hull often one each side-because they knew that the roadwheel was weak on the first Panther.Few times later.Both wheels come from the same Panther D.

vue-Cote-droit.gifvue-Cote-gauche.gifSupports-Schürzen-2.gifGalet-3.gifGalet-2.gifGalet-1.gifcrew-PANTHER-D.gif
 
Peinture-1.gifThe model, is covered with a Humbrol 187 sand base coat. For the “stripe” type camouflage Revell 84 for the green colour and Prince August 041 for the red-brown colour.To finish this first strep I applied a Humbrol 33 matt black+Humbrol 29 earth lavis.
Peinture-4.gifPeinture-3-bis.gifPeinture-2.gif
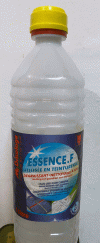
To dilute the paint Humbrol (50%) I use White spirit for the Prince August of the alcohol to burn
 
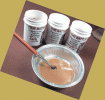
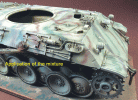
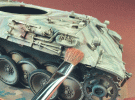
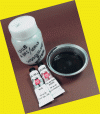
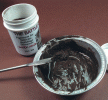
Numerous techniques exist to give to the painting of your model a used and dirty aspect; the drybrush, the filters,,the wiping up etc...Some need preparation and a long time .The technique I propose you for this vehicle is simple and rapid to do. First of all take a container ,Mix and dilute 3 pigments colours : Sand, White and Earth Well diluted with F.

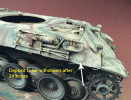
After a complete drying, allow 24 hours to wipe the surplus with a flat brush.
Pigments.gif
Application-mixture.gif
Deposit-after.gif
Brosse-1.gif
 
Aha. In English: cigarette lighter fluid, or in Dutch: aanstekerbenzine 🙂
 
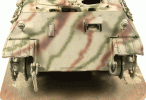
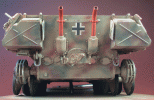
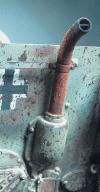
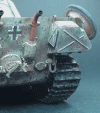
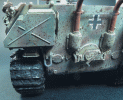
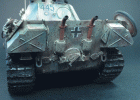
The hull rear.The plates protecting the stowage chests from the heat of the exhaust are made with aluminium sheet. These protection were quickly suppressed at that time. The tubes of the exhaust pipes are painted Revell 85+ Winsor and Newton oil Burnt Sienna

Arr-.caisse.gif
Mechanics bolted spare wheels to the sides of the hull, often one on each side, because they knew that the wheel was fragile on the Panther.

Galet-secours.gif
After the base coat, apply a mixture of Revell 85 + pigment TBC 208 rust and mud to the exhaust pipes with the medium brush Léonard n°4. The ends of the tubes are blackened with TBC 908.This range of pigment no longer exists today.

Echapp-B.gif
 
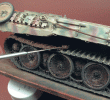
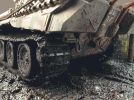
The realize the mud on the roadwheel,I chose a mix of Burnt Sienna and black water painting diluted with a mixture of water and wood glue.I added some "The battle Colors" pigment ref. TBC 308 dark mud.I mixed the powder until becoming an unctuous past. Then we applied this paste whit a paintbrush on the wheels, deposited whit a spatula and spread wiyh a paintbrush on the oustide of the track.
The wood glue added to the water allows to fix the mud on the track


Boue-3.gifBoue-1.gifBoue-2.gifBoue-chenille-1.gifBoue-chenille-2.gif
 
I usually use acrylic gel medium, sold in art supply stores. If I apply it after painting, I mix mud-coloured paint into it.
 
projected with a tootbrush

I really like this splatter effect ! To me it seems this is picked up by a growing number of modellers. Not only for big mud splatters but
also in a very subtle manner with strong diluted paint and fine paintbrushes for other great weathering effects.
 
To me it seems this is picked up by a growing number of modellers.
I was doing that decades ago already 🙂 Not used it much in recent years, except on my Takom M29 Weasel:

img_0292-jpeg.30830
 
They don’t really look up to Verlinden standards, no. I just looked in some old Verlinden catalogues, and they were listed in 1989 but not in 1991 anymore, as set No. 297 “Peasants WWII”.
 
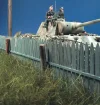
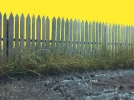
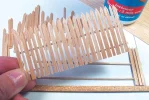
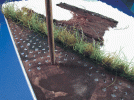
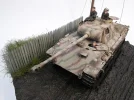
The tall grasses come from MK35 ref.A063.This manufacturer no longer exists, the equivalent must be found in another range. Small bouquets of grass are glued very tightly in holes made in the ground .The holes in the base are made with a pointed wooden rod .The grass is already coloured but they nevertheless can be covered with diverse tints of green. The palisade is painted with a mix of Humbrol 77 + Humbrol 34 white then covered with the same mix of pigments used for the D Panther.The reproduce the ground of the diorama I used a mix of modelling plaster and white glue cement.The setting of the coating obtained is longer than the plaster used alone Numerous wheel and track prints applied in the coating still fresh will reproduce an important passage of diverse vehicles. The pole at the back is made with a balsa rod.

Dio-2.gifDio-1.gif
Panther-D-Herbe.webp
Panther-D-dio-1.webp
 
MK35 ref.A063.This manufacturer no longer exists
I had been wondering about that. I have some of their civilian figures, and was looking for some more about a year and a half ago. It looked like MK35 was no longer in business, but I wasn’t entirely sure.
 
The figures:
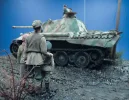
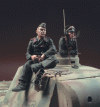
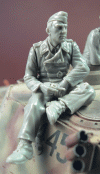
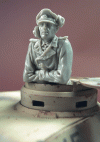
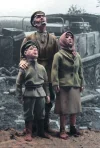
The 3 crews members come from the firm TANK.The engraving is excellent. After a matt white the unifoms in black cloth, feldmütze and shoes are painteds With a mix of Humbrol 33 black+ very few Humbrol 29 Earth.Apply a slight drybrush with Humbrol 33 + Humbrol 29 to bring out the details f the uniforms.The pink braids on the shoulder straps-tanks and-anti-tanks-collar straps and feldmütze are painted with a mix of Winsor & Newton Titane white 36+Alizarin Crimson + Revell 36 matt red. The belt leather is painted with a Revell 36 + W&N burnt umber mix.The bell plates are treated with Humbrol 11 Silver.The national emblem-The swastika eagle sewed on thr left sleeveand on the chest-are
painted Humbrol 11 + Humbrol 34 white.
These last photos end my topic on the Panther Ausf.D... See you soon for a new post

Arriere-Panther-1.gifLes-figs-2.gifLes-figs-1.gifLes-figs-C.gifLes-figs-B.gifLes-figs-A.gif
 
Very nice blog Gérard 👍 i'm looking forward to the next one...
 
Terug
Bovenaan